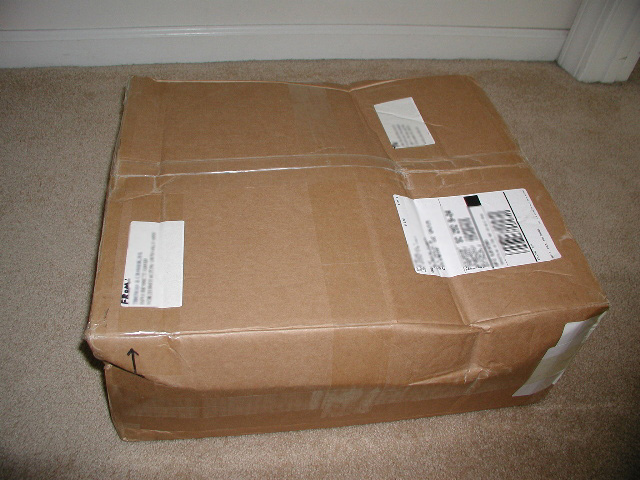
Looks like UPS delivered this package on a forklift, or perhaps under one... Fortunately, all is well with the wheel inside, so work can begin... |
|
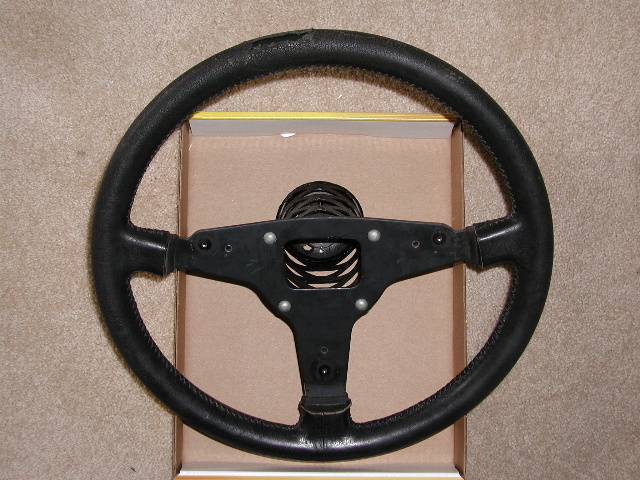 |
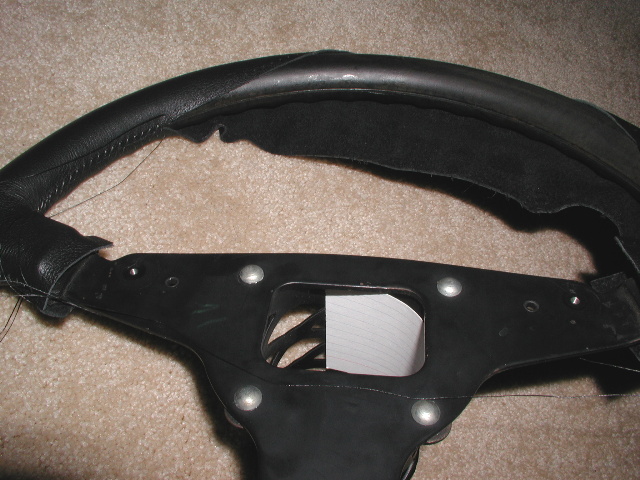
Initial condition upon receipt. |
| Status as of 2004/06/05, most of bottom half done. Look to be done by Wednesday, ship Thursday (originally thought Wednesday ship date, but 'day job' intervened again this entire Sunday). | 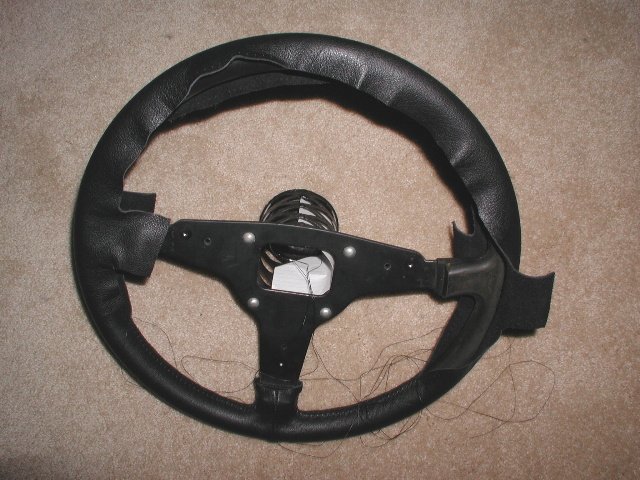 |
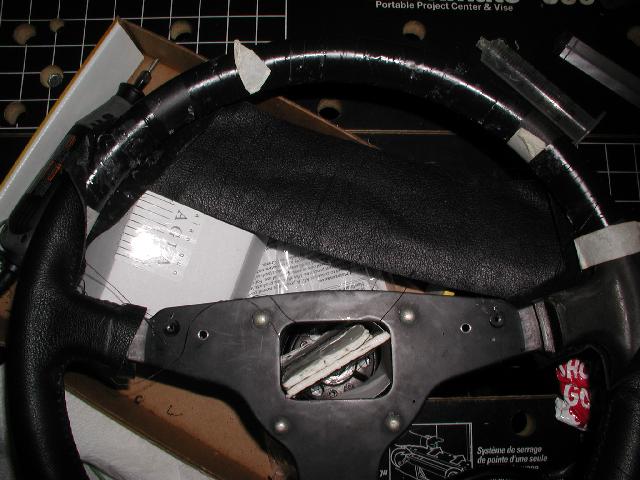
| In the next two pictures, I pulled back the unstitched portion to show the molding that is affected by the internal separation. However, there is really nothing to be seen from the outside. It's not as bad as some I've seen, which is why I didn't notice it until I actually got to the section itself. | |
 |
 |
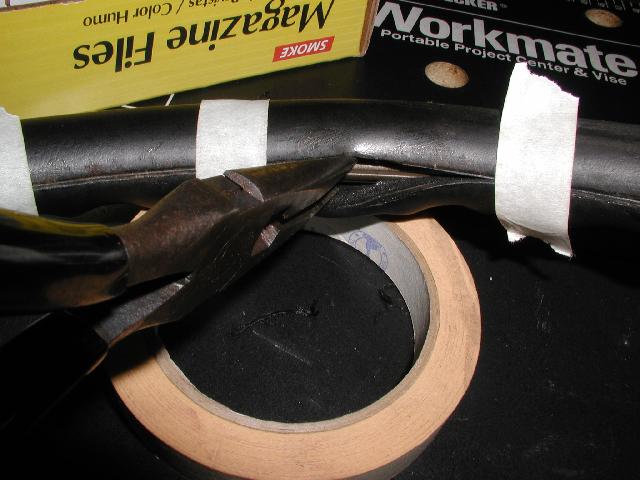
| The tape in the picture on the right marks the boundaries of the three slits I made along the seam on the inside of the rim to allow access for inserting adhesive. Note also the turkey marinade injector with its tip Dremel'ed off. This worked for a bit, but eventually, as suspected, the twisting from trying to insert it far under the surface caused the needle to snap off at the base. I was still able to use it effectively however, though I did end up opening up some more 'access slits' in between the original three. These slits were slightly smaller, and I don't think are depicted in the photos - some things you have to do on the spur of the moment - plans don't always work exactly as foreseen! | 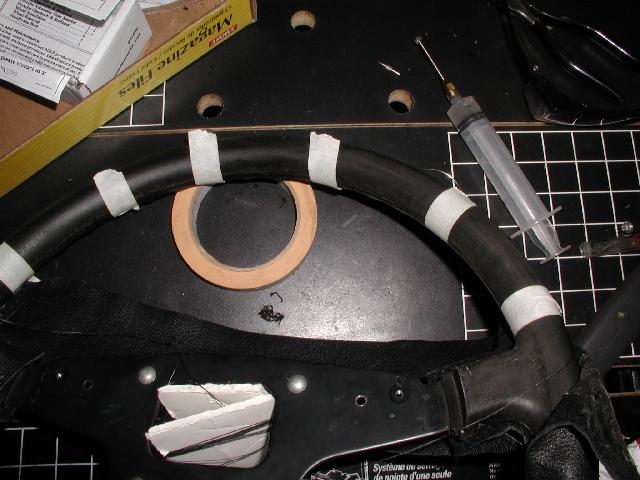 |
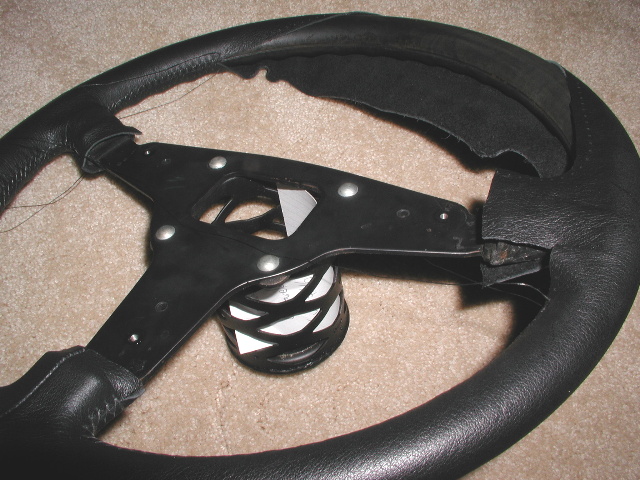
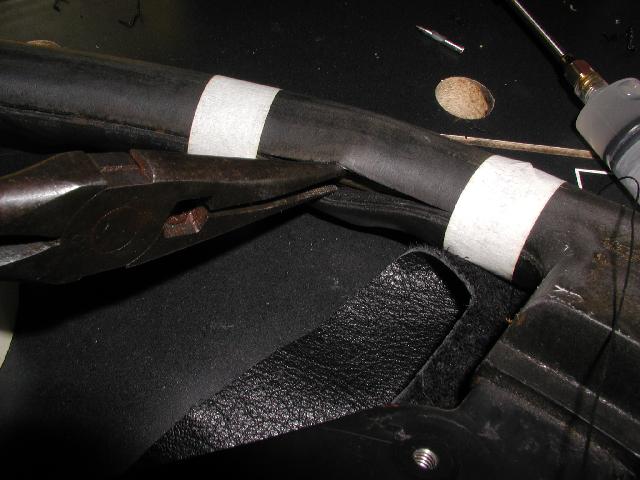
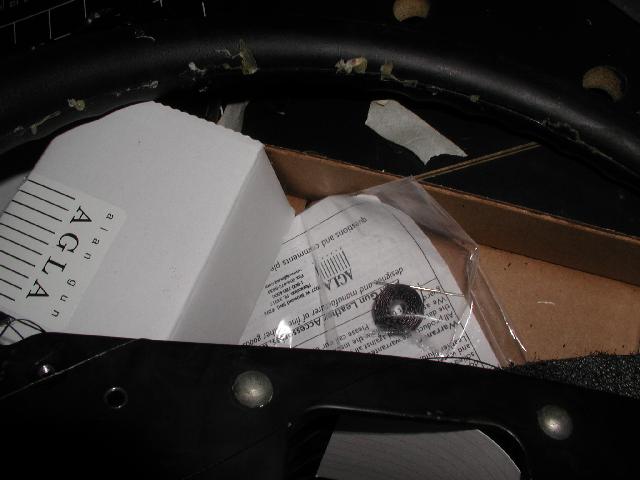
| The next two pictures show the slits opened up to reveal the inner metal core, which has separated from the rubber exterior. | |
 |
 |
| After injecting Shoe Goo (to right of wheel) into all the 'access slits', I cleaned off the excess as quickly as possible, then firmly wrapped the rim in electrical tape until everything set. Since the leather has been unsewn a bit and pulled back, I made sure to Lexol it so it would not develop nasty creases and such. You can also see the X-Acto blades used to create the slits. | 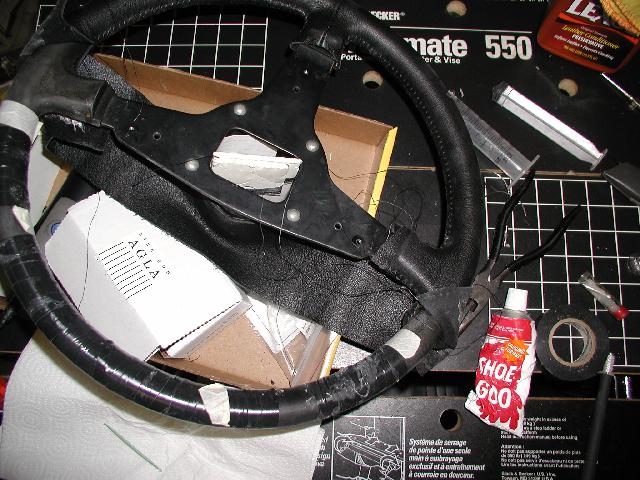 |
 |
If you look in the upper right corner of the photo to the left, you'll see the broken hypodermic - it was still useful, and actually gave better flow through the nozzle, but I had to open some extra, smaller slits between the original ones, as I could not get the same reach as previously. I need to find a metal hypo like the one you showed me, though I was able to clean this one and could reuse in a pinch. |
| The last two pictures show the final results of the 'operation'. In the first, I have still not trimmed off the excess Shoe Goo that seeped out. The last photo shows the almost-completely trimmed results. Unfortunately, I did not get final shots of your wheel after restitching everything up, but by now you should have it in your possession! | |
 |
 |